The VPS plans of OVHcloud are often out of stock, especially the Ubuntu versions. Some people get lucky by relentlessly refreshing the configuration page to grab one, but this approach isn’t ideal. To automate the process, you can use the official OVHcloud API and a small Python script to check the availability of a specific plan and notify you via Telegram when it becomes available. To keep the script running 24/7, deploy it on a Raspberry Pi.
Overview
In this project, we’ll check the availability of the VPS-1 plan (planCode: vps-2025-model1) in Singapore region. For other planCodes, check this section at the end of the article.
We’re gonna create a new Telegram bot (to send you a message when the plan is available), set up Python (virtual environment), make the script that do the checking, and manage the script on Raspberry Pi.
Pre-check
First, take a glance at a JSON response when you call an OVHcloud API in a browser, by entering this address:
https://ca.api.ovh.com/v1/vps/order/rule/datacenter?ovhSubsidiary=WE&planCode=vps-2025-model1Code language: plaintext (plaintext)It will return something like this:
{
  "datacenters": [
    {
      "datacenter": "BHS",
      "code": "ca-east-bhs",
      "status": "available",
      "daysBeforeDelivery": 0,
      "linuxStatus": "available",
      "windowsStatus": "available"
    },
    {
      "datacenter": "SGP",
      "code": "ap-southeast-sgp",
      "status": "available",
      "daysBeforeDelivery": 0,
      "linuxStatus": "out-of-stock",
      "windowsStatus": "available"
    },
    {
      "datacenter": "SBG",
      "code": "eu-west-sbg",
      "status": "available",
      "daysBeforeDelivery": 0,
      "linuxStatus": "available",
      "windowsStatus": "available"
    },
    ...
  ]
}Code language: JSON / JSON with Comments (json)
I want to grab the SGP (Singapore) option when its linuxStatus becomes available.
The process
Create a new Telegram bot
Open Telegram and chat with @BotFather.
Type this:
/start
/newbot- Then set you bot name, e.g.,
vps-checker. - And your bot username, e.g.,
myvpscheckerbot.
You can use any name and username, doesn’t matter.
@BotFather will return a message like this, that includes the Bot Token → Save it:
Done! Congratulations on your new bot. You will find it at t.me/myvpscheckerbot. You can now add a description, about section and profile picture for your bot, see /help for a list of commands. By the way, when you've finished creating your cool bot, ping our Bot Support if you want a better username for it. Just make sure the bot is fully operational before you do this.

Use this token to access the HTTP API:
6795303768:GOKqZLuMrD7BiDpS8vgiQka6HJvl-Xvtb3a
Keep your token secure and store it safely, it can be used by anyone to control your bot.

For a description of the Bot API, see this page: https://core.telegram.org/bots/apiCode language: plaintext (plaintext)
Next, click on the link in that message to chat with your bot, e.g., t.me/myvpscheckerbot.
Chat something, “hi”, “hello”, anything. This is a MUST in order to make the next step works.
Open this URL in your browser (replace the TOKEN):
https://api.telegram.org/bot<TOKEN>/getUpdatesCode language: plaintext (plaintext)For example:
https://api.telegram.org/bot6795303768:GOKqZLuMrD7BiDpS8vgiQka6HJvl-Xvtb3a/getUpdatesCode language: plaintext (plaintext)In the response, look for this part:
"chat":{"id":123456789}Code language: plaintext (plaintext)Save the ID number for later use.
Set up Python virtual environment
On Raspberry Pi, open Terminal and enter these commands:
sudo apt update
sudo apt install -y python3-venv python3-pip
Code language: plaintext (plaintext)
Create a new virtual environment for the script, activate that environment, install the requests library, and deactivate the environment:
python3 -m venv ~/venv/ovh-vps-check
source ~/venv/ovh-vps-check/bin/activate
pip install requests
deactivate
Code language: plaintext (plaintext)
Switch to the main directory and create the script file:
cd ~/venv/ovh-vps-check
sudo nano ovh_vps_sgp_telegram.pyCode language: plaintext (plaintext)
Paste this content into the file and replace the parameters in the CONFIG section:
ovhSubsidiary: choose between “ASIA┃AU┃CA┃IN┃QC┃SG┃WE┃WS”.planCode: for the full list, check this section.DATACENTER: for the full list, check this.CHECK_INTERVAL: interval between the checks.TELEGRAM_BOT_TOKEN: paste your bot token.TELEGRAM_CHAT_ID: paste your chat ID.
In case you want to check the availability of Windows server instead of Ubuntu/Linux, change line 49 from return dc.get("linuxStatus") to return dc.get("windowsStatus"). Or if you want to check both, change it to return dc.get("status").
import requests
import time
import sys
# ========= CONFIG =========
OVH_API_URL = "https://ca.api.ovh.com/v1/vps/order/rule/datacenter"
OVH_PARAMS = {
"ovhSubsidiary": "WE",
"planCode": "vps-2025-model1"
}
DATACENTER = "SGP"
CHECK_INTERVAL = 300 #seconds (5 minutes)
TELEGRAM_BOT_TOKEN = "YOUR-BOT-TOKEN"
TELEGRAM_CHAT_ID = "YOUR-CHAT-ID"
# ========= SCRIPT =========
def telegram_notify(message: str):
url = f"https://api.telegram.org/bot{TELEGRAM_BOT_TOKEN}/sendMessage"
payload = {
"chat_id": TELEGRAM_CHAT_ID,
"text": message,
"disable_web_page_preview": True,
"disable_notification": False
}
requests.post(url, json=payload, timeout=10)
def check_availability():
r = requests.get(OVH_API_URL, params=OVH_PARAMS, timeout=10)
# OPTIONAL: Add `user-agent`
# r = requests.get(
# OVH_API_URL,
# params=OVH_PARAMS,
# headers={"User-Agent": "ovh-vps-stock-check/1.0"},
# timeout=10
# )
r.raise_for_status()
data = r.json()
datacenters = data.get("datacenters", [])
for dc in datacenters:
if dc.get("datacenter") == DATACENTER:
return dc.get("linuxStatus")
return None
def main():
last_status = None
telegram_notify(
"Started Checking!"
)
while True:
try:
status = check_availability()
if status != last_status:
print(f"Status changed: {status}")
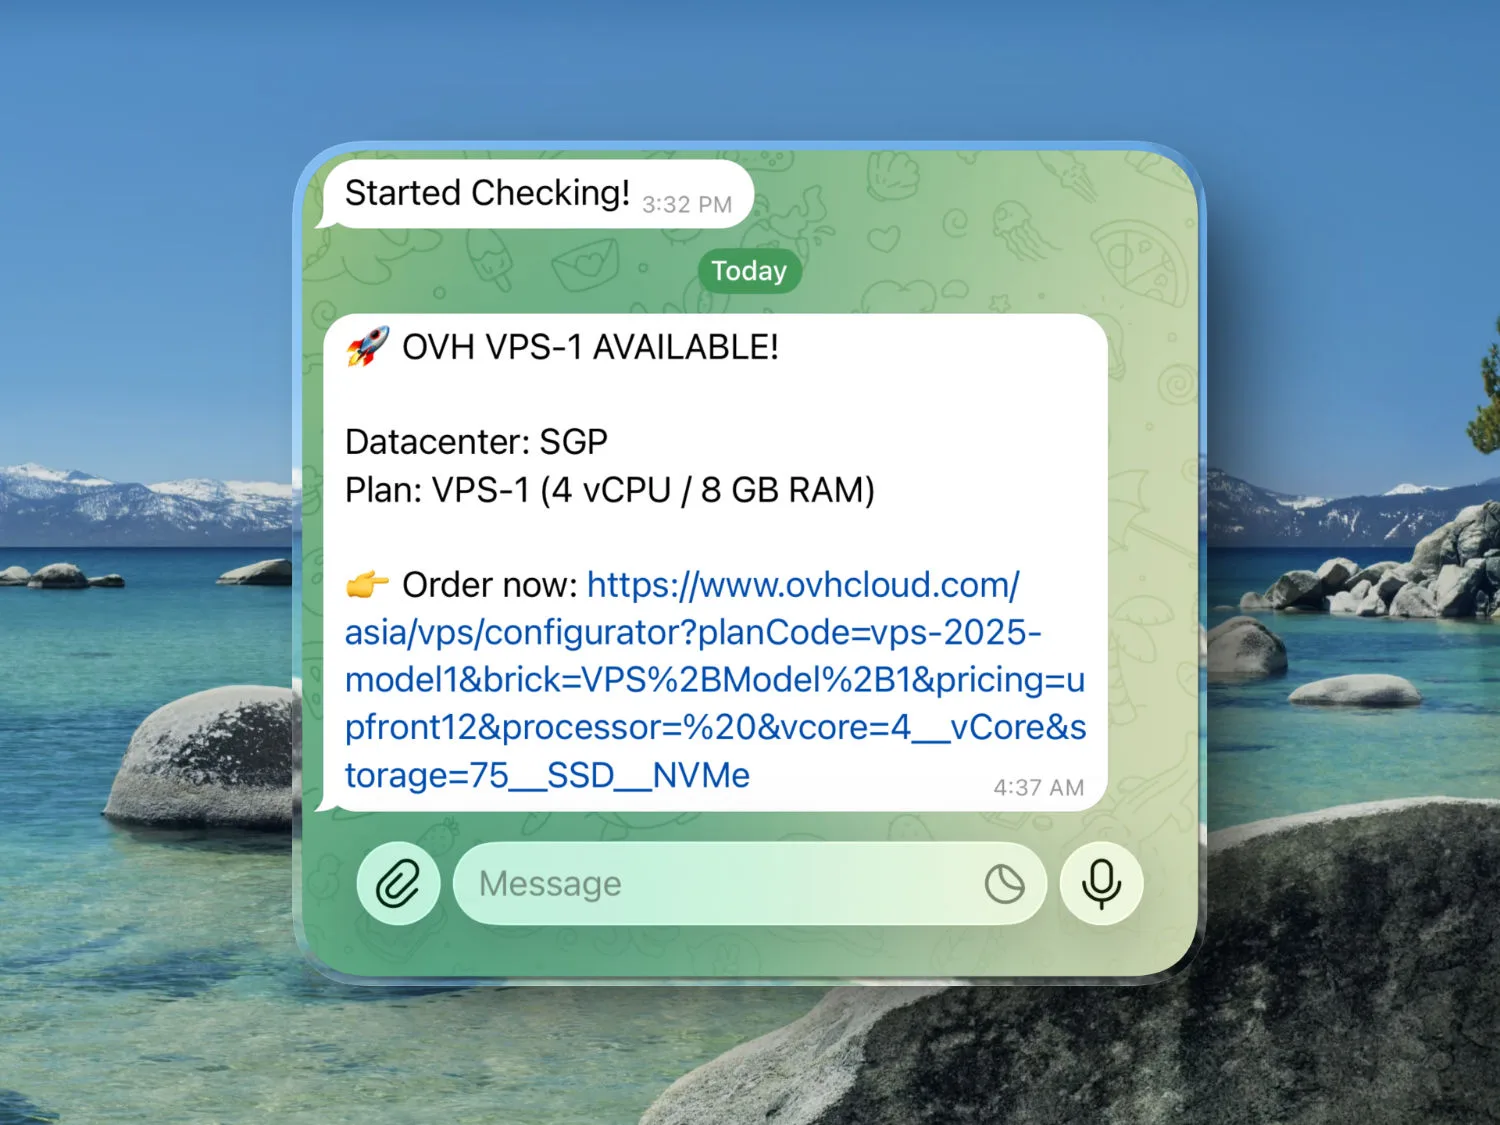
if status == "available":
telegram_notify(
"🚀 OVH VPS-1 AVAILABLE!\n\n"
"Datacenter: SGP\n"
"Plan: VPS-1 (4 vCPU / 8 GB RAM)\n\n"
"👉 Order now: https://www.ovhcloud.com/asia/vps/configurator?planCode=vps-2025-model1&brick=VPS%2BModel%2B1&pricing=upfront12&processor=%20&vcore=4__vCore&storage=75__SSD__NVMe"
)
last_status = status
else:
print(f"No change ({status})")
except Exception as e:
print("Error:", e, file=sys.stderr)
time.sleep(CHECK_INTERVAL)
if __name__ == "__main__":
main()
Code language: Python (python)Press Ctrl+X, then Y to close and save the file.
Run the script
In the terminal, enter this command:
nohup ~/venv/ovh-vps-check/bin/python ovh_vps_sgp_telegram.py &Code language: plaintext (plaintext)This command tells the system to continue to run the script (inside the virtual environment) in the background even after closing the terminal.
If everything is correct, you will receive this message in Telegram:
Started Checking!It’s a sign that your script and bot are working as expected.
Manage the script
To verify the script is actually running on Raspberry Pi, use this command in Terminal:
ps aux | grep ovh_vps_sgp_telegram.pyIf the script is running, it will return this:
taihoang 15424 … /home/taihoang/venv/ovh-vps-check/bin/python ovh_vps_sgp_telegram.py
taihoang 15448 … grep --color=auto ovh_vps_sgp_telegram.py
To end that script, type this:
kill 15424with “15424” is the PID number that appears in your terminal.
Bonus: Get the list of all VPS “planCode”
If you need to know the exact planCode of other VPS plans, you can use the below Python script to list all of them. You’ll need an OVHcloud account in order to create a new API key:
- Create a new OVHcloud account and log in to the dashboard.
- Go to Identity, Security & Operations → API keys → Create an API key.
- Type in name, description and validity time.
- Rights:
- POST:
/order/cart - POST:
/order/cart/*/assign - GET:
/order/cart/* - DELETE:
/order/cart/*
- POST:
- Save the Application key, Application secret, Consumer Key.
Create a new virtual environment, activate it, and install ovh library:
python3 -m venv ~/venv/ovh-plancode-check
source ~/venv/ovh-plancode-check/bin/activate
pip install ovh
Code language: plaintext (plaintext)
Create a new Python file:
cd ~/venv/ovh-plancode-check
sudo nano ovh-plancode-check.py
Code language: plaintext (plaintext)
Paste this content into it (replace the Application key, Application secret, and Consumer Key):
import ovh

client = ovh.Client(
    endpoint='ovh-ca',
    application_key='YOUR-APPLICATION-KEY',
    application_secret='YOUR-APPLICATION-SECRET',
    consumer_key='YOUR-COMSUMER-KEY',
)

def list_sorted_vps_plans(subsidiary='WE'):
    try:
        # 1. Initialize Cart
        cart = client.post('/order/cart', ovhSubsidiary=subsidiary)
        cart_id = cart['cartId']
        client.post(f'/order/cart/{cart_id}/assign')

        # 2. Get VPS products
        vps_offers = client.get(f'/order/cart/{cart_id}/vps')

        # 3. Filter and Sort
        vps_plans = [p for p in vps_offers if p['planCode'].startswith('vps-')]

        # Alphabetical sort by planCode
        sorted_plans = sorted(vps_plans, key=lambda x: x['planCode'])

        print(f"{'PLAN CODE (Sorted)':<35} | {'PRODUCT NAME'}")
        print("-" * 60)

        for plan in sorted_plans:
            print(f"{plan['planCode']:<35} | {plan['productName']}")

        # Cleanup
        client.delete(f'/order/cart/{cart_id}')

    except ovh.exceptions.APIError as e:
        print(f"API Error: {e}")

if __name__ == "__main__":
    list_sorted_vps_plans()
Code language: Python (python)
Run the script:
python ovh-plancode-check.pyCode language: plaintext (plaintext)It will return something like this:
PLAN CODE (Sorted)                  | PRODUCT NAME
-------------------------------------------------------
vps-2025-model1                     | VPS-1
vps-2025-model1.LZ                  | VPS-1
vps-2025-model2                     | VPS-2
vps-2025-model3                     | VPS-3
vps-2025-model4                     | VPS-4
vps-2025-model5                     | VPS-5
vps-2025-model6                     | VPS-6
vps-comfort-4-16-160                | VPS Comfort 4-16-160
vps-comfort-4-16-160-vps-2025-model3 | VPS-3
vps-comfort-4-16-160-vps-2025-model3-10percent | VPS-3
...
Code language: plaintext (plaintext)
Pick the planCode you choose and use it with the script above to check its availability.
When done, deactivate the virtual environment:
deactivateThe end.